How to Install VMware Tools on Fedora 14
After publishing a post with VirtualBox, I wanted to install latest Linux OS on VMware workstation or player. Installation is very easy and simple. You can refer earlier post. The problem is VMware tools installation. Latest VMware products support only up to Fedora 13. This post shows how to install VMware tools on Fedora 14 to get better performance and increase screen resolution size.
Unfortunately ‘easy install’ did not detect the correct OS version as expected. So, do a manual installation and complete it.
After OS installed and rebooted, now time to install tools.
1) First need to update required packages. Make sure virtual machine has direct internet with download access.
Open the terminal and log in as root,
Type
yum update
It will download and install so many packages. Wait and restart the virtual machine.
2) After rebooted, type,
yum install gcc make kernel-devel perl kernel-PAE-devel
If you are not using 32 Bit version, then remove the “kernel-PAE-devel” in above command.
Again this will take some time to download and install.
3) Now, select ‘Install VMware tools’ in Virtual machine menu. This will mount the built-in ISO file.
4) Lets create a temporary folder somewhere to keep the VMware tools installer from mounted ISO file. For example, I’m creating under /mnt
Log in as root, type,
mkdir /mnt/tmp
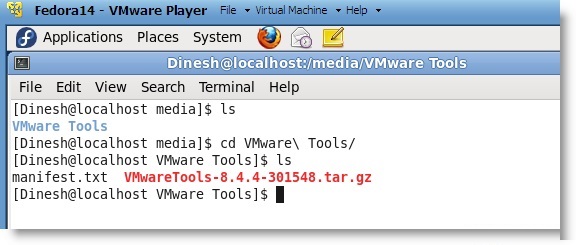
5) Make sure you can access the CD ROM and see the following files.
6) Lets extract the tar.gz file to /mnt/tmp by following command.
cd /mnt/tmp

tar zxpf /media/VMware Tools/VMwareTools-8.4.4-301548.tar.gz
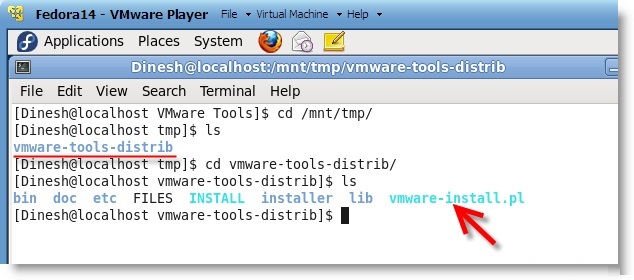
7) Look for extracted files under /mnt/tmp

8.) Now run the command to execute the tools installation.
./vmware-install.pl
Press ENTER for default options. Restart and enjoy the new features, including multiple screen resolution size and Unity mode.
I think till we get an updated version, we have to stick with this method.
Let me know if this method is useful for you or any difficulties.

