Zerto Replication – Install ZVM
One of my favorite aspects regarding Zerto Replication is the ease of deployment. In this series, we will run through the installation and configuration of Zerto 5.5 for VMware environments. The series will consist of three parts to get Zerto Replication up and running.
- Zerto Virtual Manager (ZVM) Install
- Virtual Replication Appliance (VRA) Deployment/Site Pairing
- Virtual Protection Group (VPG) Setup for Virtual Machines
The focus of today’s post is the Zerto Virtual Manager (ZVM) installation. If you are unfamiliar with the ZVM, it is the centerpiece of the Zerto solution, which oversees replication. It taps into vCenter server to monitor your environment and update Zerto components. Furthermore, the ZVM runs as a Windows service and serves up a user interface to manage Zerto activities. Typically, the ZVM is installed at both the recovery and protected sites.
Before we start, let’s look at some pertinent requirements.
- Windows Server 2008 R2 SP1 and higher (64-bit)
- .NET Framework 4.5.2 or higher
- Minimum 2 CPU and 4GB RAM
- VMware vCenter/ESXi 4.0U1 or higher
Additional requirements can be reviewed here.
Install Zerto Virtual Manager for VMware
First, download the installer from Zerto.
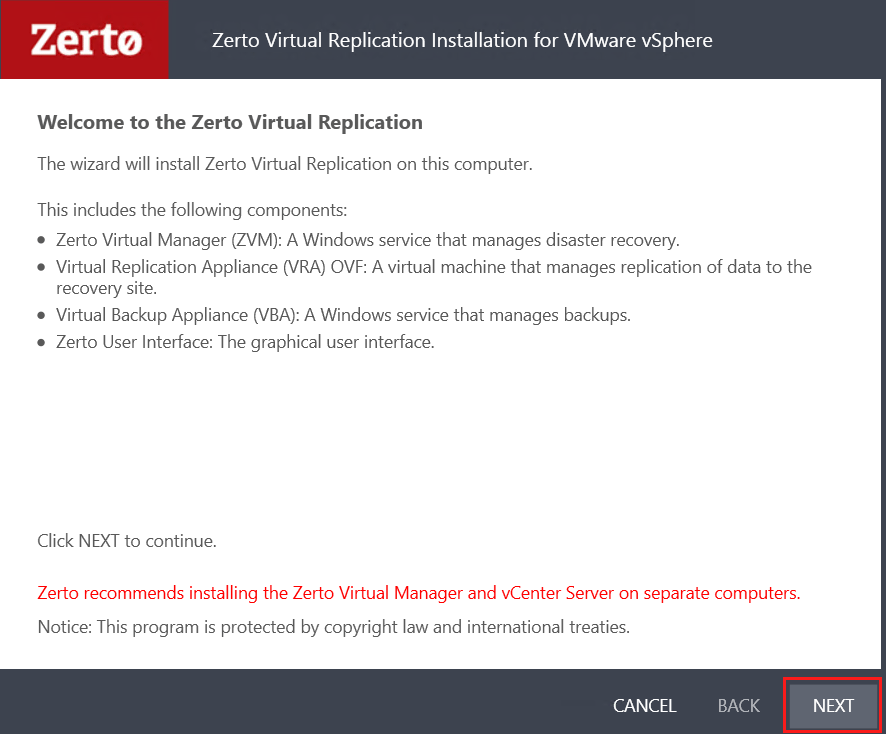
Once downloaded, launch the Zerto Virtual Replication VMware Installer on the designated Windows VM.
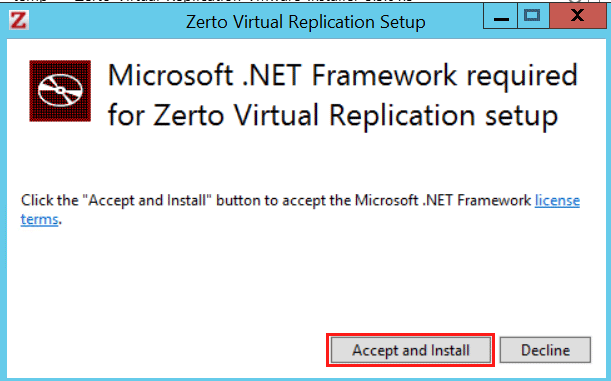
If Microsoft .NET Framework 4.5.2 or higher is not installed, you will be prompted to install and reboot.
After reboot, the Zerto Virtual Replication wizard will resume.
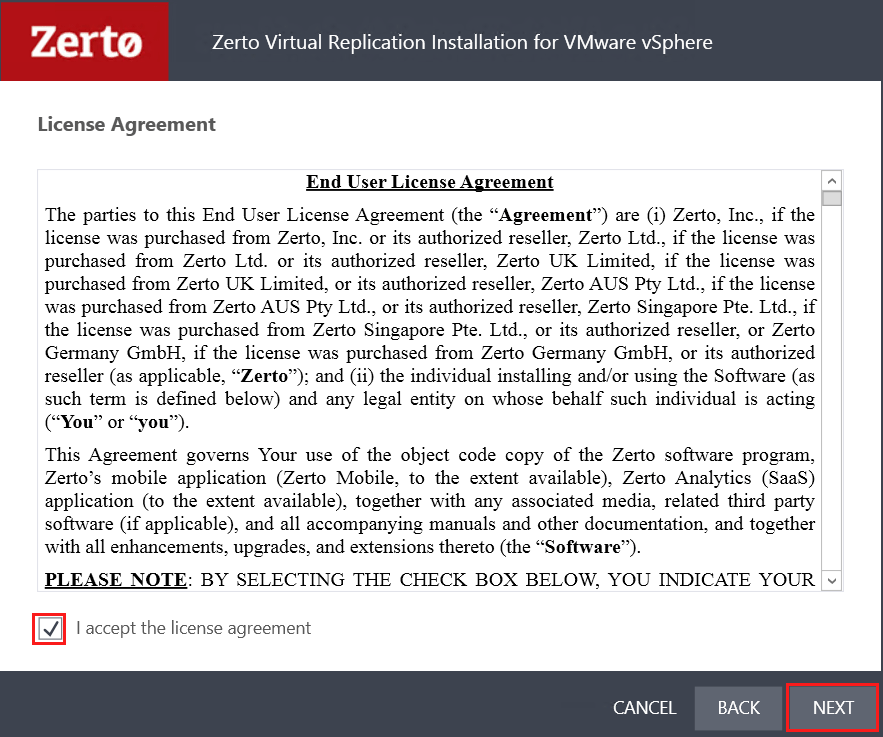
Read and accept the Zerto EULA.
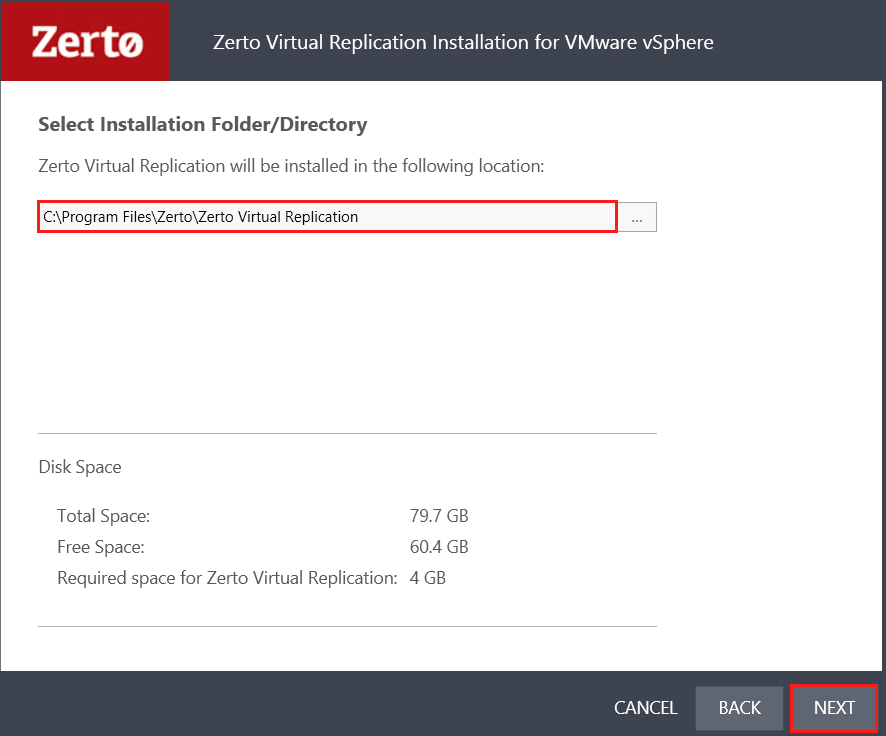
Next, specify the installation location.
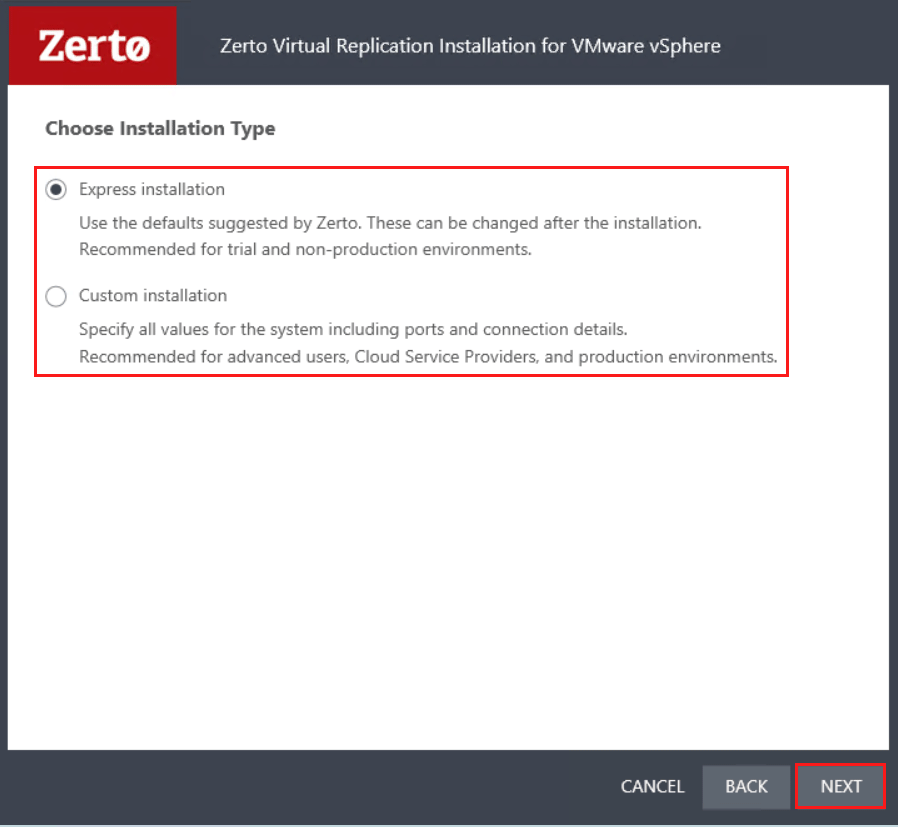
Choose the Installation Type. The express installation utilizes defaults recommended by Zerto; whereas, the Custom installation allows you to specify ports, service accounts, external database, SQL authentication, vCloud Director Connectivity, etc.
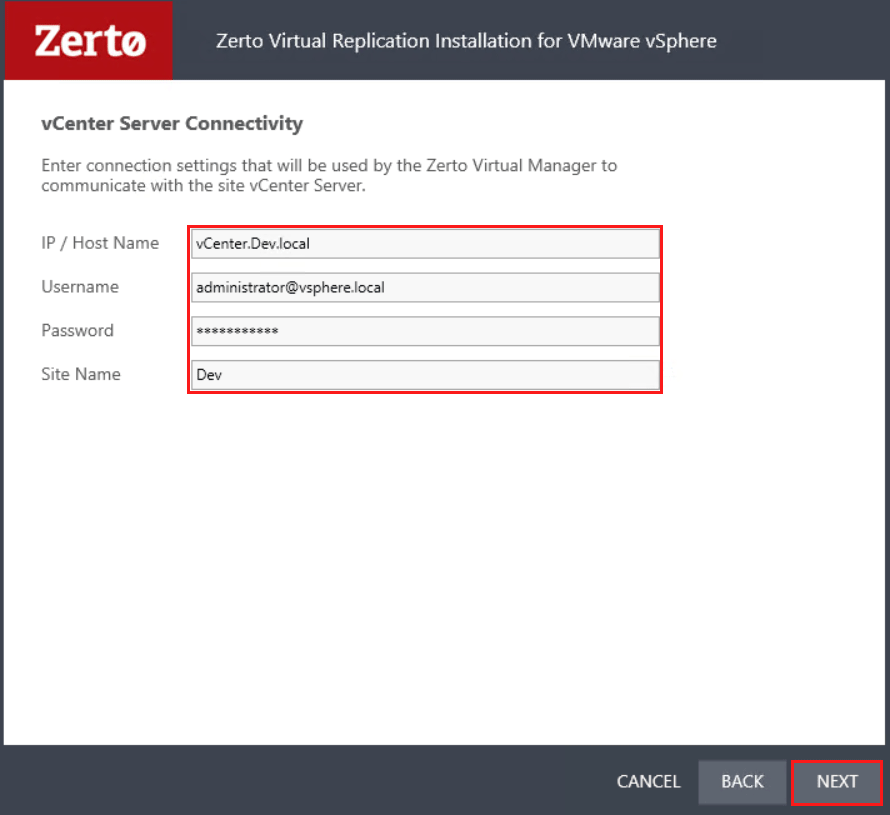
Enter the pertinent vCenter Connectivity information.
Choose to enable or disable Online Services and the Zerto Mobile Application. Enable is checked by default.
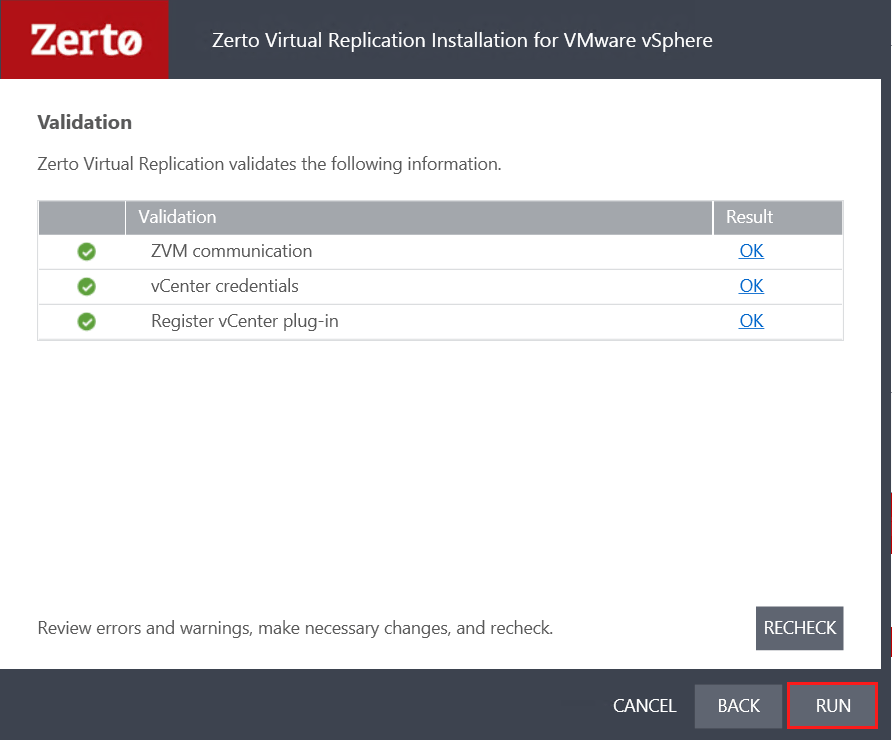
The wizard will now validate communication and connectivity aspects. Fix any issues presented, else click Run to begin the installation.
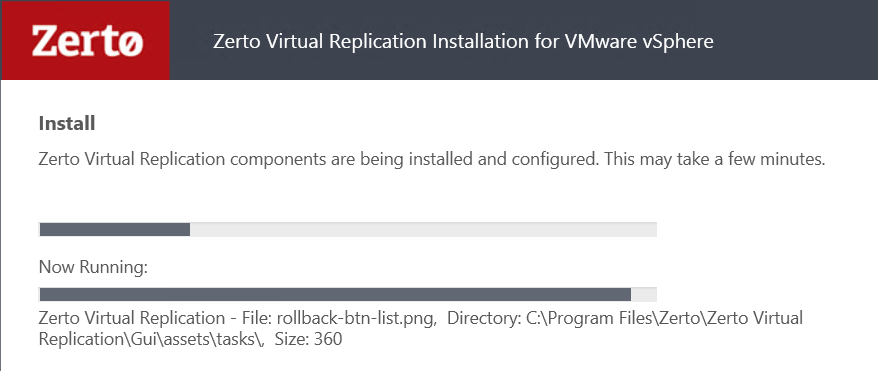
Installation and configuration of the ZVM will now begin.
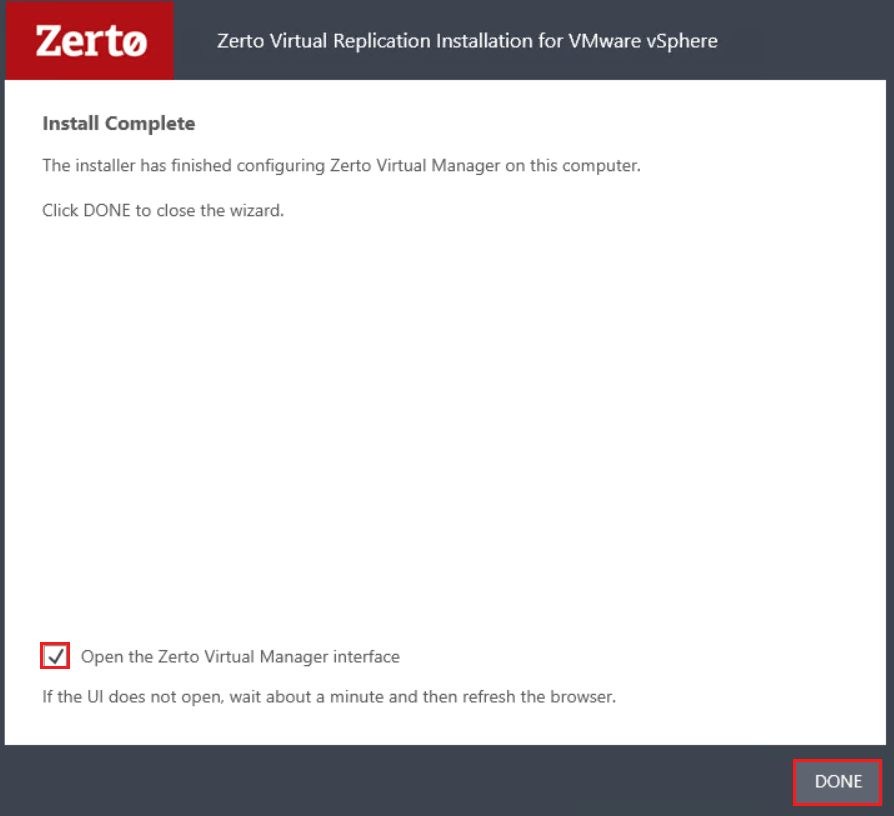
Once the installer has completed, select Done. If you would like to open the UI, select the Open ZVM interface check box. If the UI doesn’t open, navigate tohttps://zvm_IP:9669
Login with the connected vCenter Server credentials.
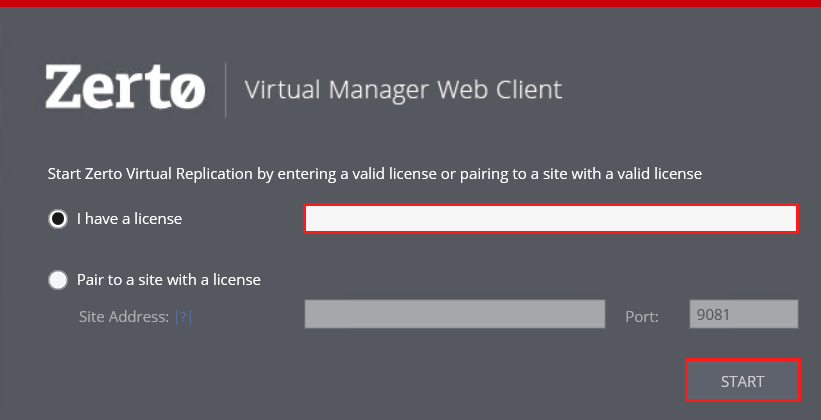
Enter your valid Zerto license and click Start.
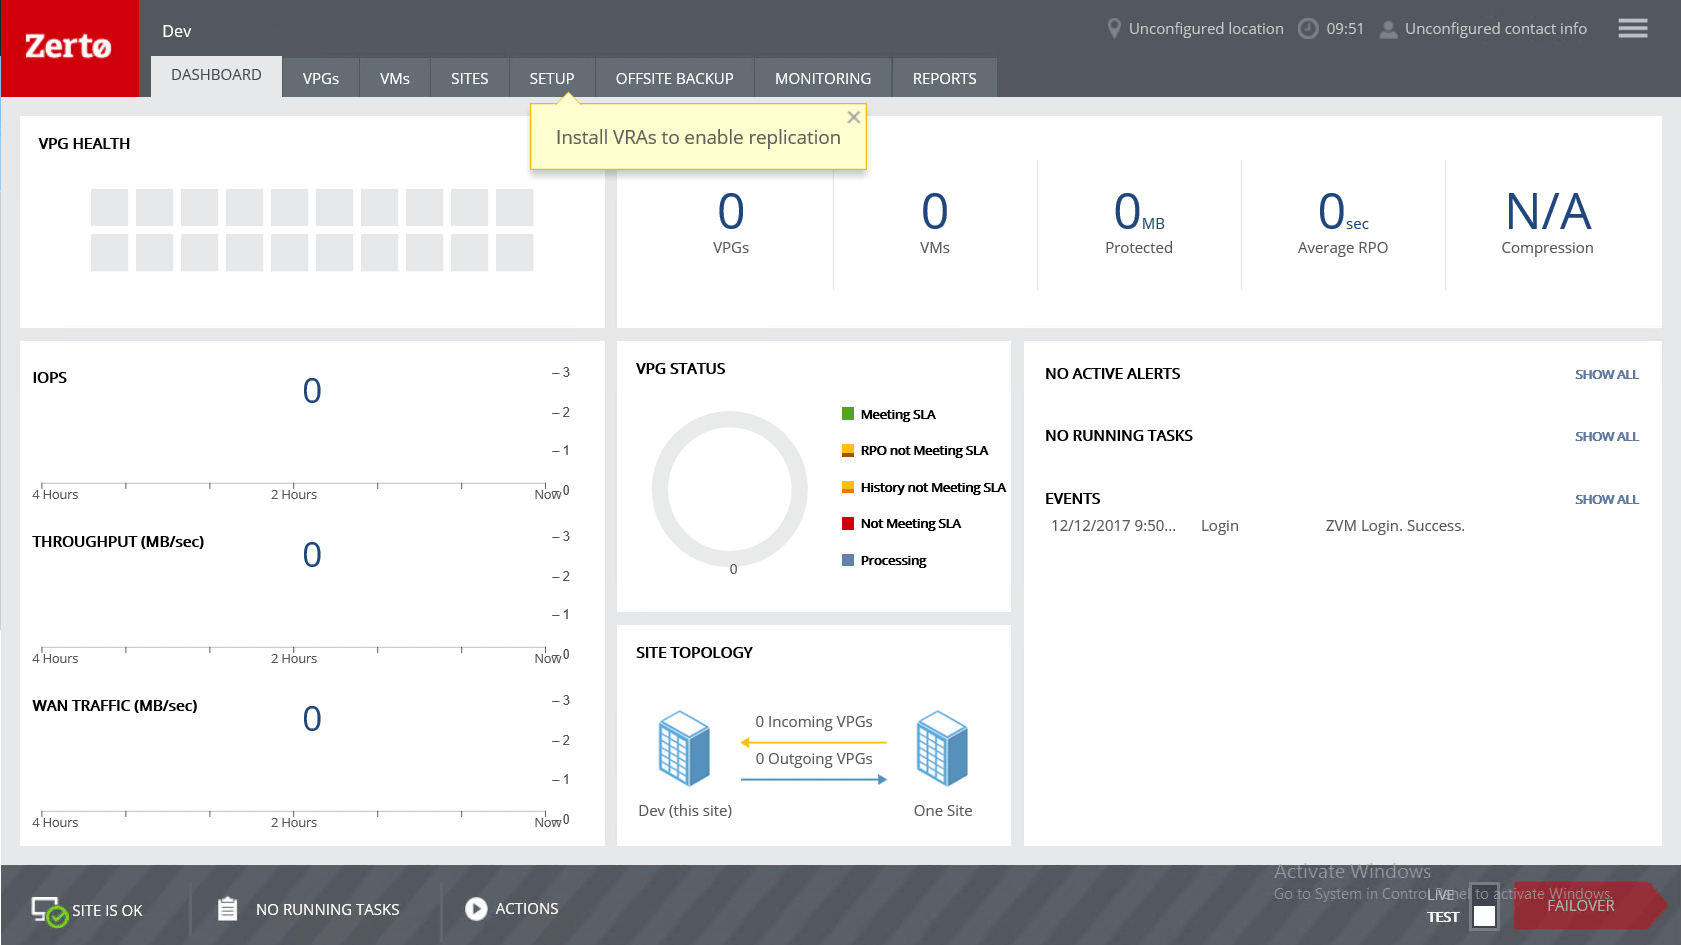
You will now be logged into the ZVM user interface.
That’s it! Your first ZVM has been installed. In the next part of the series, we will deploy VRAs and pair the ZVM to a recovery site.
Related Posts
